
This is quick tutorial to setup pfSense. I decide to try out pfSense for routing. Was deciding between VyOS and pfSense and since I have used pfSense before, I have decide to try out pfSense. For those who are looking at using vSphere vCenter. This video does not do that, instead I am using ESXi native web interface.
Command to extract the ISO.
gunzip pfSense-CE-2.5.2-RELEASE-amd64.iso.gz
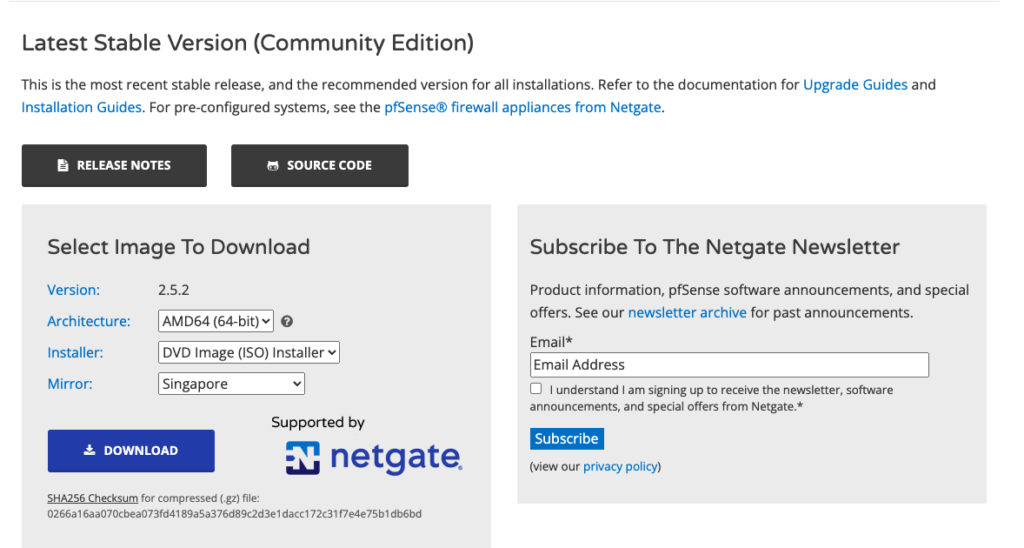
1. First Download the pfSense image. Choose the version that you want for this tutorial I am using version 2.5.2 for AMD64 bit.
https://www.pfsense.org/download/
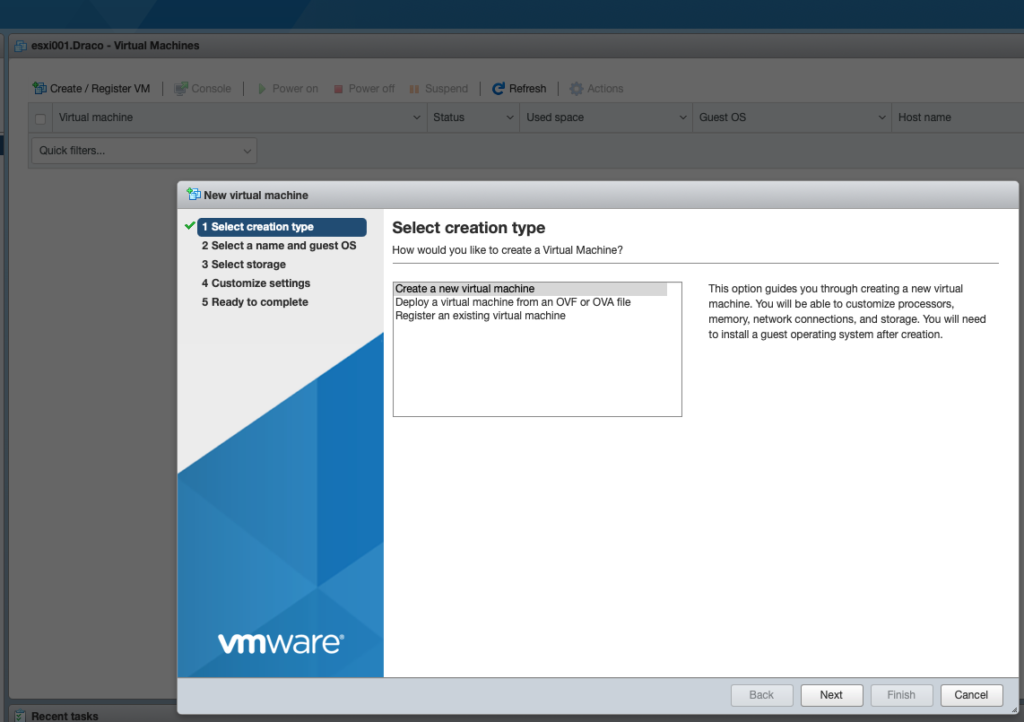
2. Create a new virtual machine on your ESXi
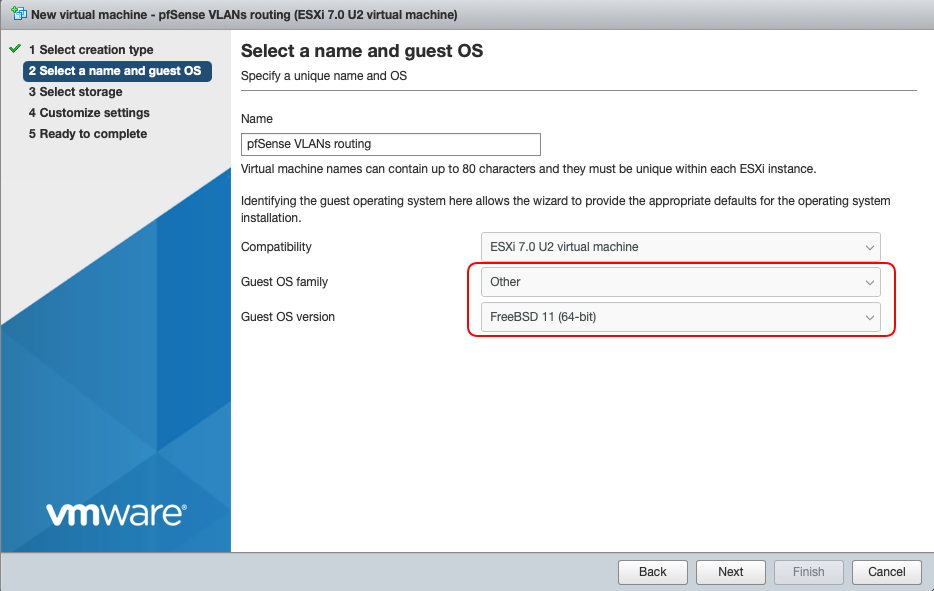
3. Select Other for the Guest OS family and Select FreeBSD 11 (64-bit) for the OS version, click Next.
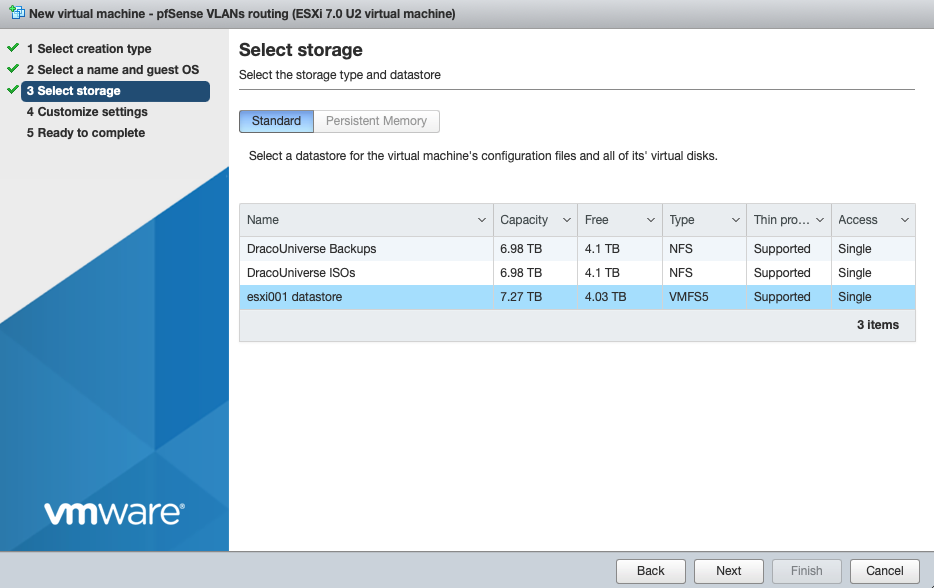
4. Select the storage device you want to install pfSense.
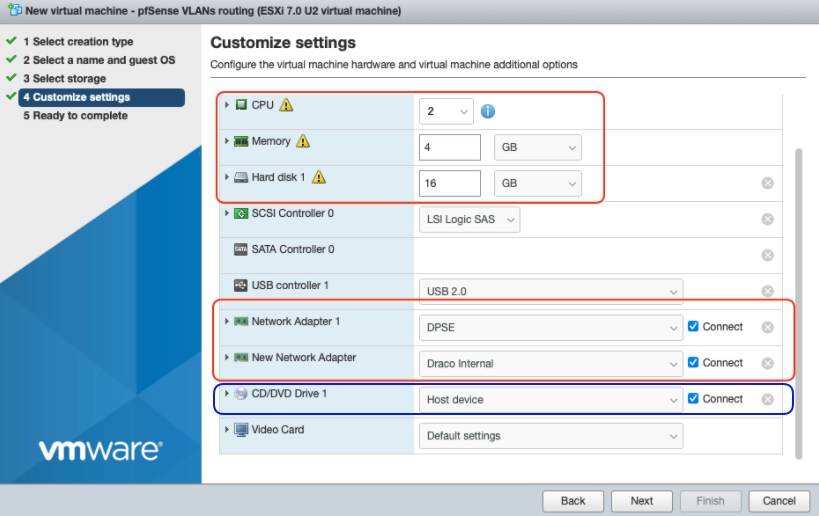
5. 2 CPU and 4GB RAM and 16GB is sufficient for a basic lab environment. I have select 2 Network Adapter and assign 2 VLAN for a start you can change this later in the configure.
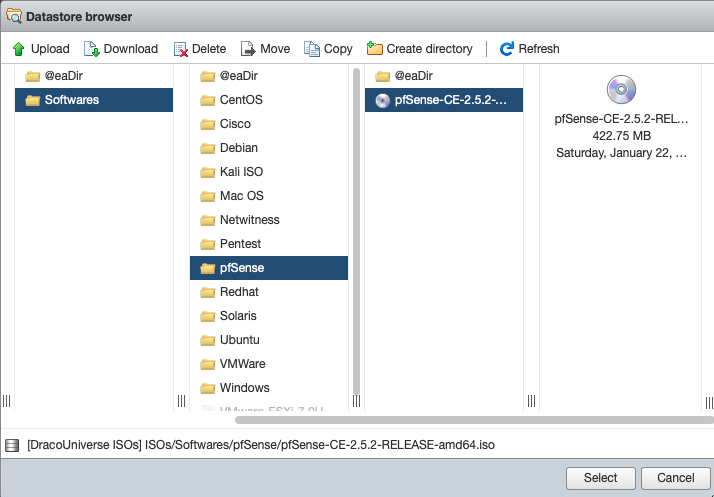
6. Select the pfSense image for your CD/DVD Drive.
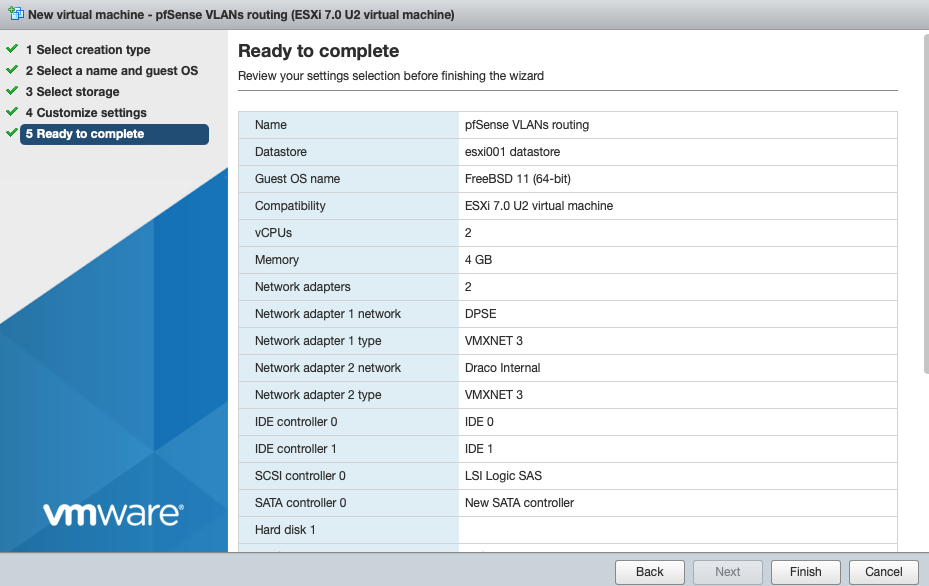
7. Review your configuration and click on Finish.
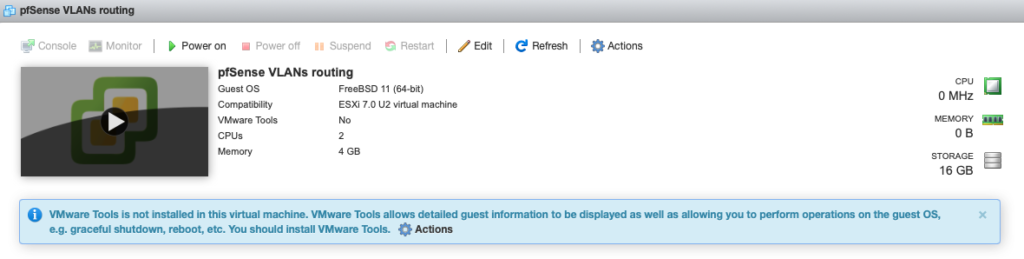
8. Launch the virtual machine.
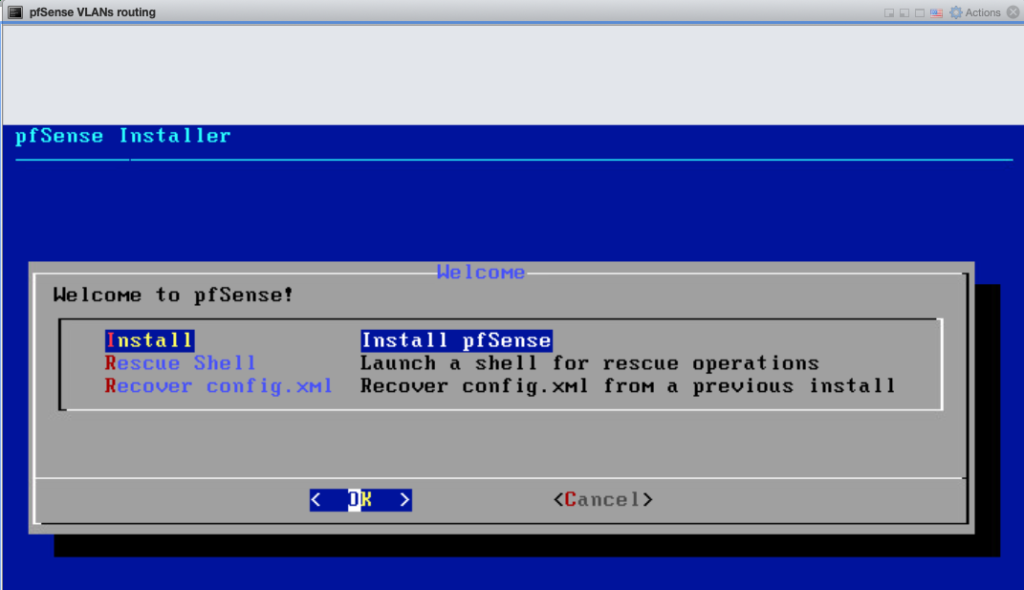
9. The installation will start. Accept the Copyright and distribution notice to continue. Select Install and click OK.
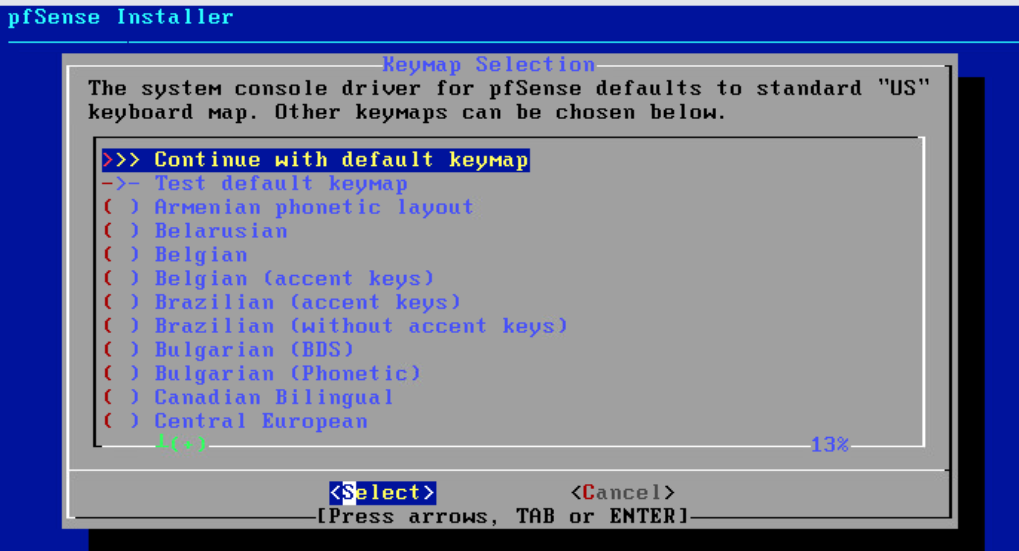
10. Continue with default keymap, if you are using the default US keyboard map.
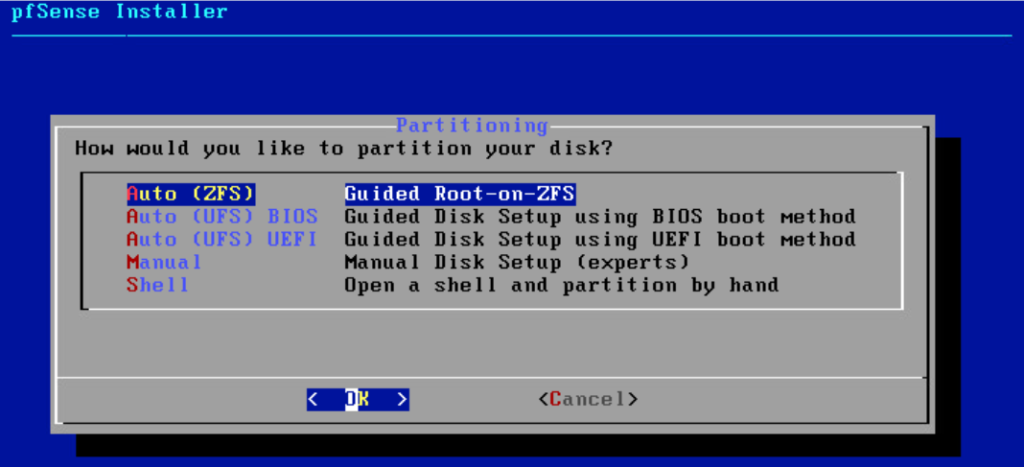
11. For this tutorial I am trying out the ZFS file system instead of the usual Unix UFS file system, then click OK.
12. You can choose the default for lab environment or configure more secure settings like Encrypt Disks and Swap and then click on Select.
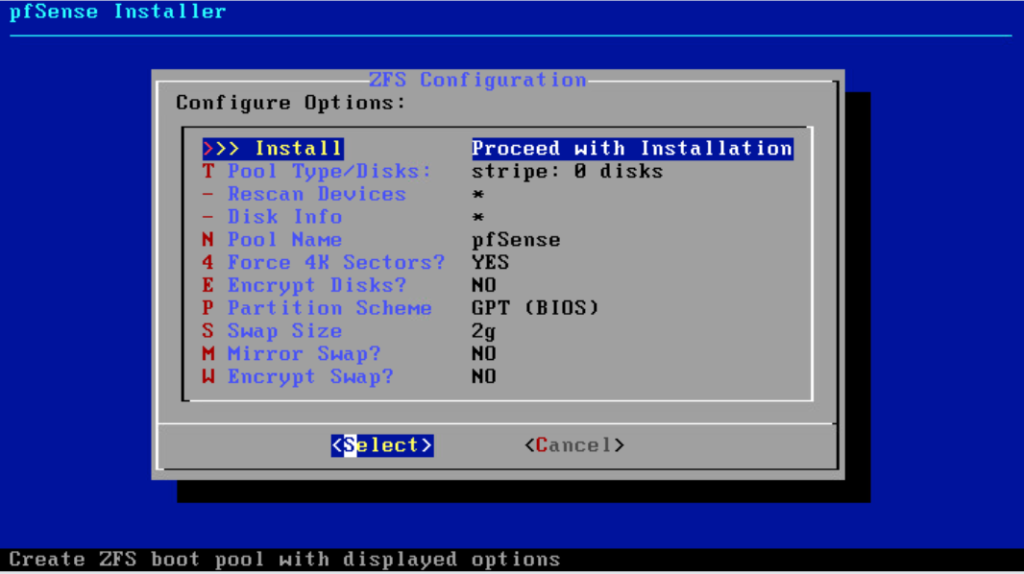
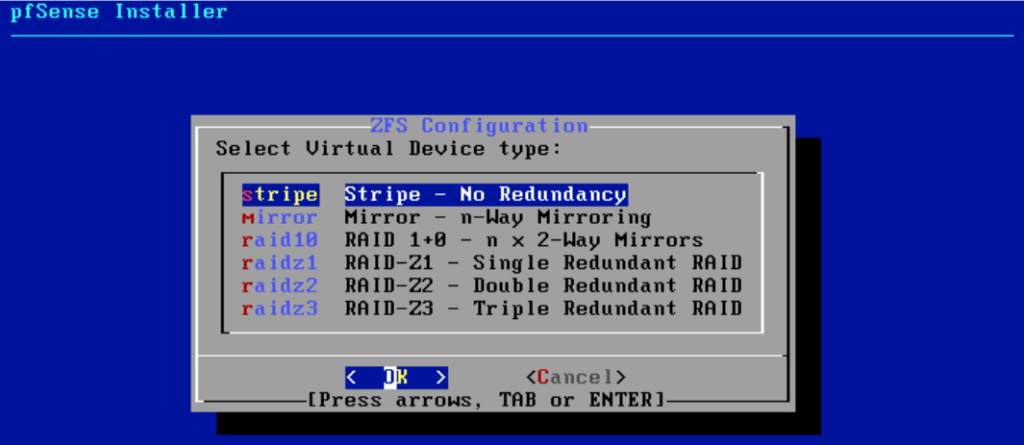
13. For lab environment you can choose stipe which has No Redundancy then click OK.
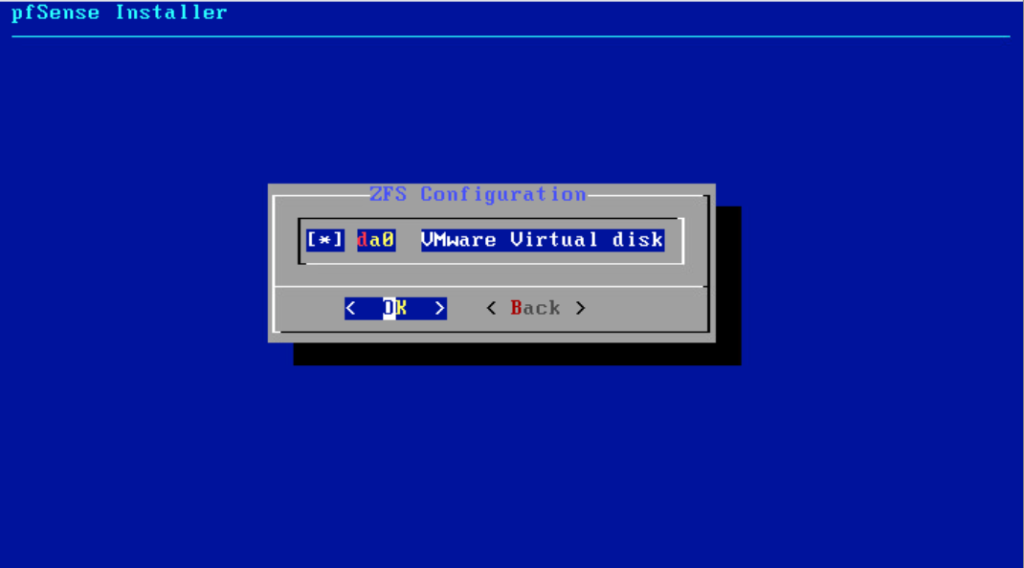
14. Select the VMWare Virtual disk to start the installation.
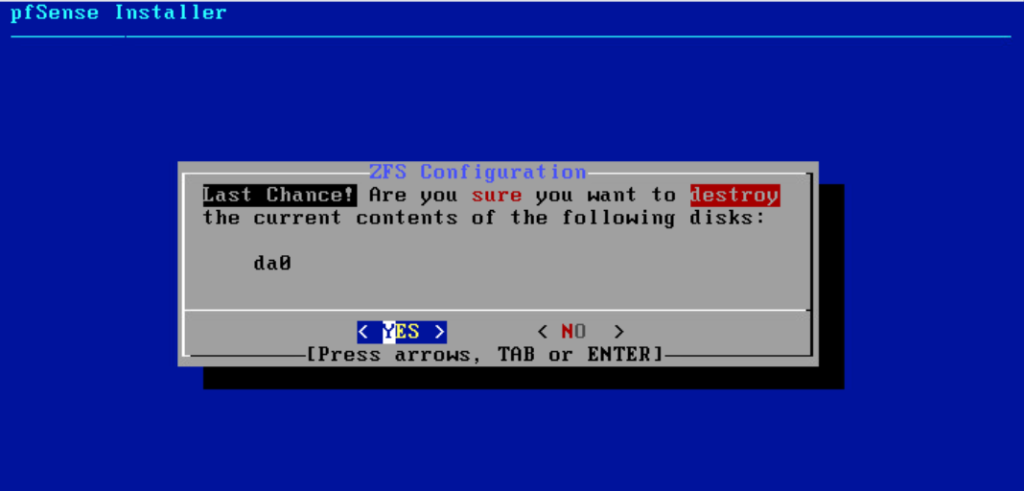
15. If you are installing on a new VM select YES.
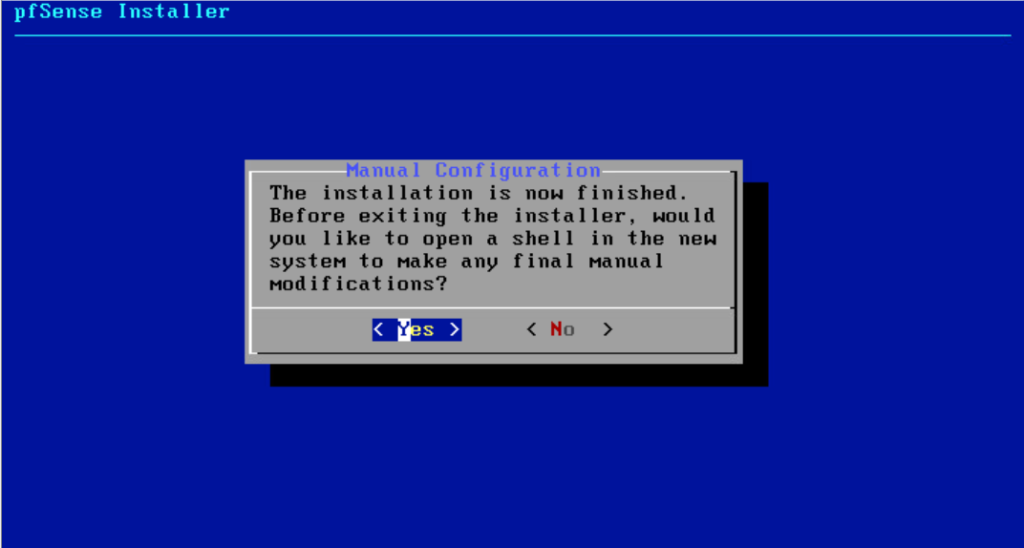
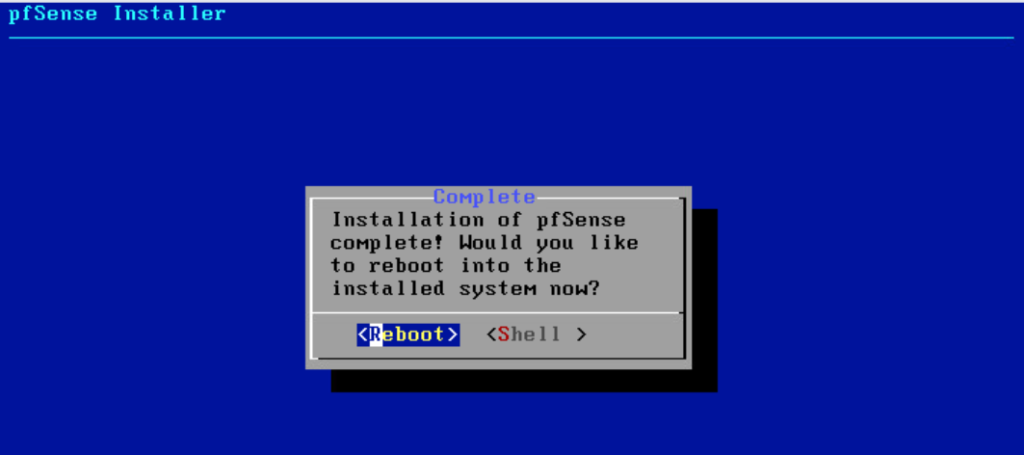
16. If you do not have any manual configuration that you want to change. You can select No and then reboot.
17. During the startup, you will be prompted to setup VLANs. You can choose no and setup later in the webConfigurator.

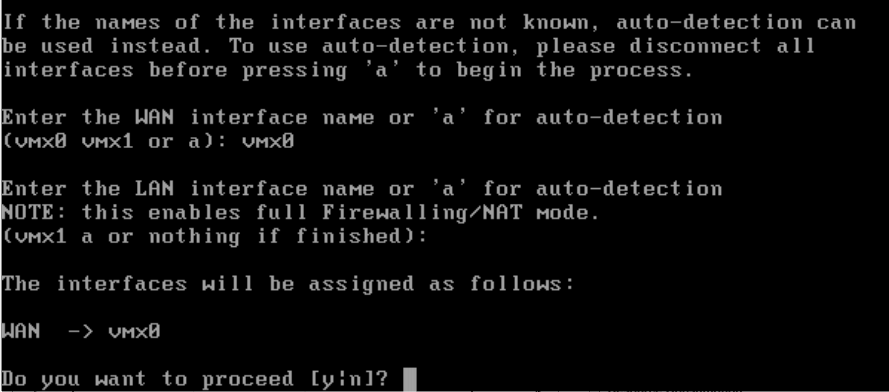
18. You now need select the WAN interface (This is the interface that will connect to the WAN or the upstream router. You need to identified that, for me both of my interface connect to the upstream router. So I am going to choose vmx0 for now.

19. Once that is once enter y to proceed.
20. Once you complete the bootup. If your upstream router is a DHCP server, you will get the WAN ip auto assign.
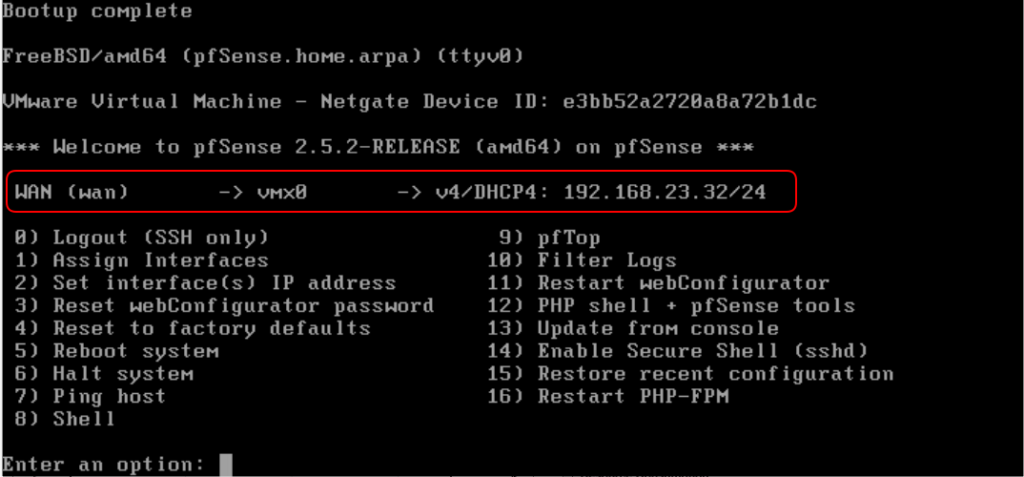
21. Next assign the LAN ip address by entering option 2, and you can use DHCP to assign the IP addresses and select Y for webConfigurator.
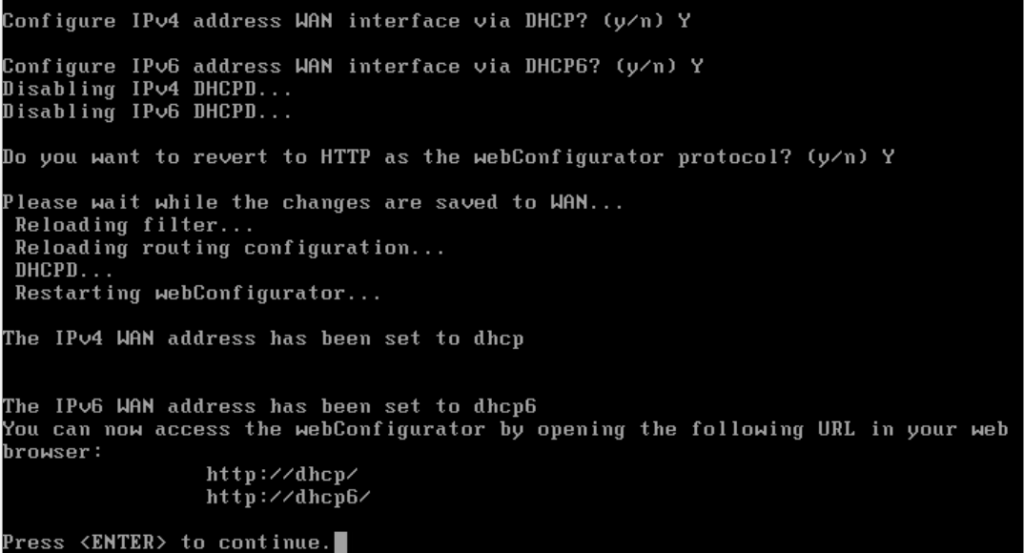
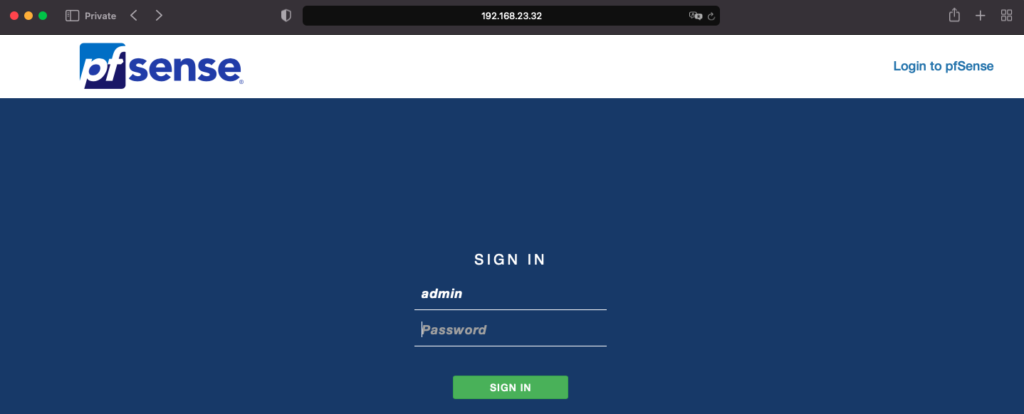
22. Once that is one you can open a browser to the pfSense. The default username is admin and password pfsense
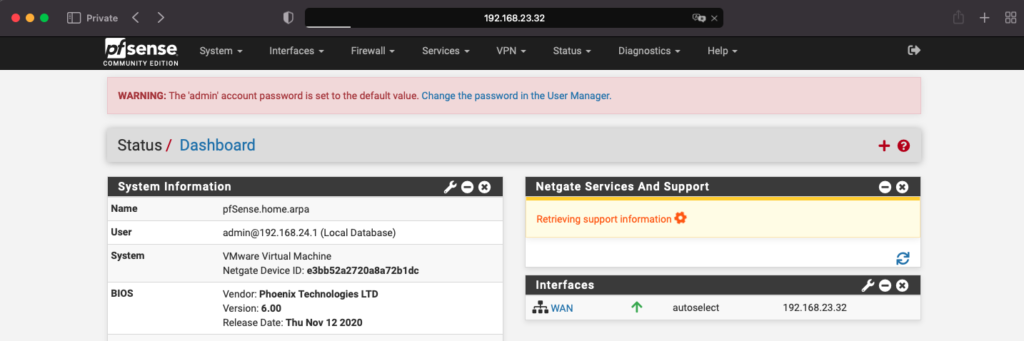
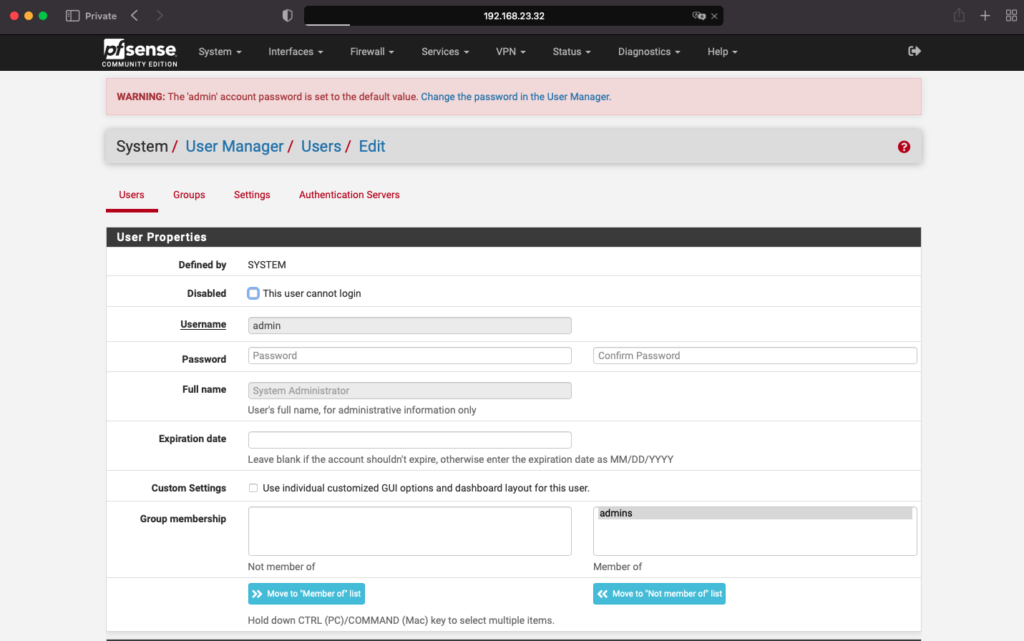
23. Once you are login, recommendation is to change the default password.
That is how easy it is to install pfSense in ESXi.