
In this tutorial I am going to show you how to install Windows Server 2022 on Ubuntu Nested KVM.
You can download the Windows Server 2022 from the official Microsoft Evaluation Download site. You need to enter you information do download the eval.
https://www.microsoft.com/en-us/evalcenter/evaluate-windows-server-2022
You can download the virtual IO drivers from here.
https://fedorapeople.org/groups/virt/virtio-win/direct-downloads/stable-virtio/virtio-win.iso
To install the necessary packages to run KVM virtualized software packages, install the following.
sudo apt -y install bridge-utils cpu-checker libvirt-clients libvirt-daemon qemu qemu-kvm virt-manager
Check if you Ubuntu machine allows running of KVM or nested KVM.
sudo kvm-ok

Add your sudoer user to the following group.
sudo adduser <username> kvm
sudo adduser <username> libvirt
Make sure that your Virtualized Daemon is running
sudo systemctl status libvirtd
If you have not create a directory where there is enough space you might want to do so.
sudo ln -s /mnt/ /mnt/
sudo mkdir -p /
Make sure you have install remote access tool such as VNC. You can follow the following tutorial if you need the steps to do it.
https://old.dracocybersecurity.com/install-tightvncserver-on-ubuntu-20-04/
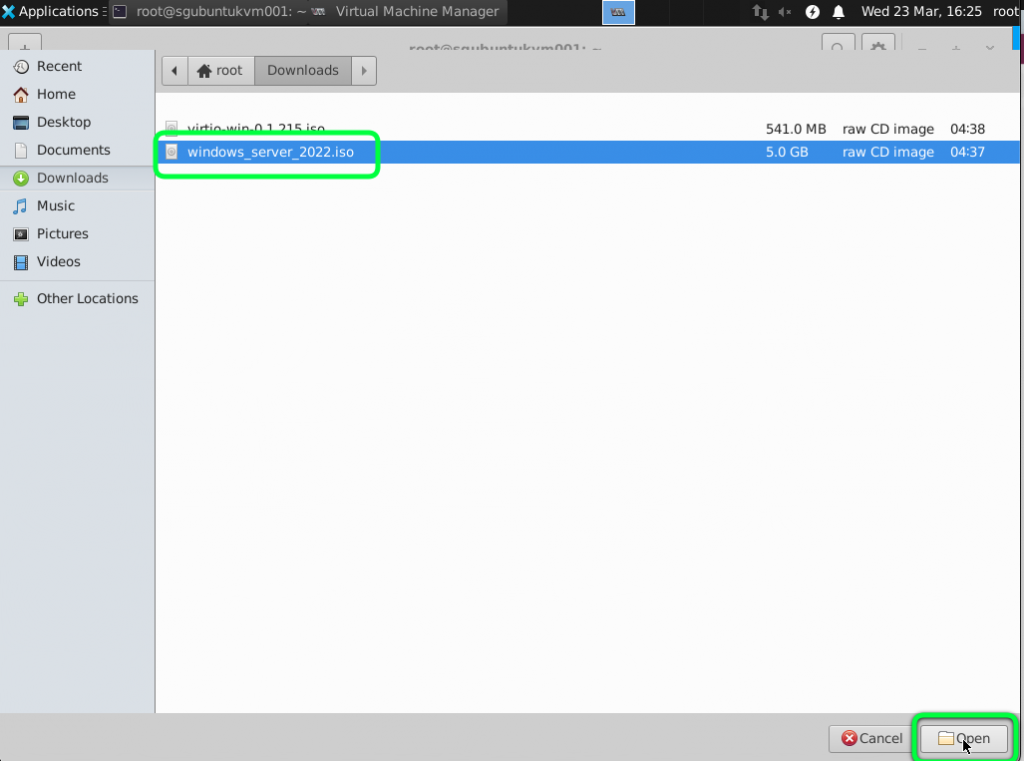
First copy or download the windows iso and virtio windows driver file necessary for the installation to the Ubuntu Server
We are going to use virtual manager (virt-manager) to install the Windows Server 2022.
Next you can follow the step by step guide to install Windows Server 2022 using Virtual Manager (virt-manager)
Run virt-manager from the terminal in the GDE

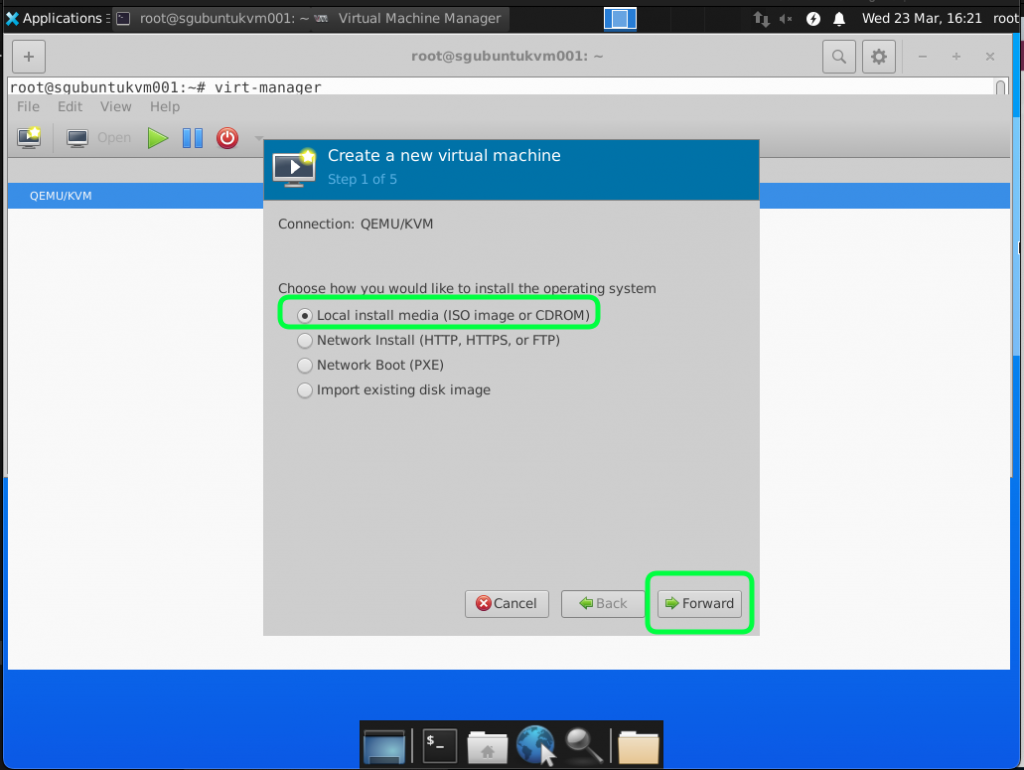
Right Click on QEMU/KVM and select New.

We are using local images that we have copied into the Ubuntu so select Local install media and click Forward.
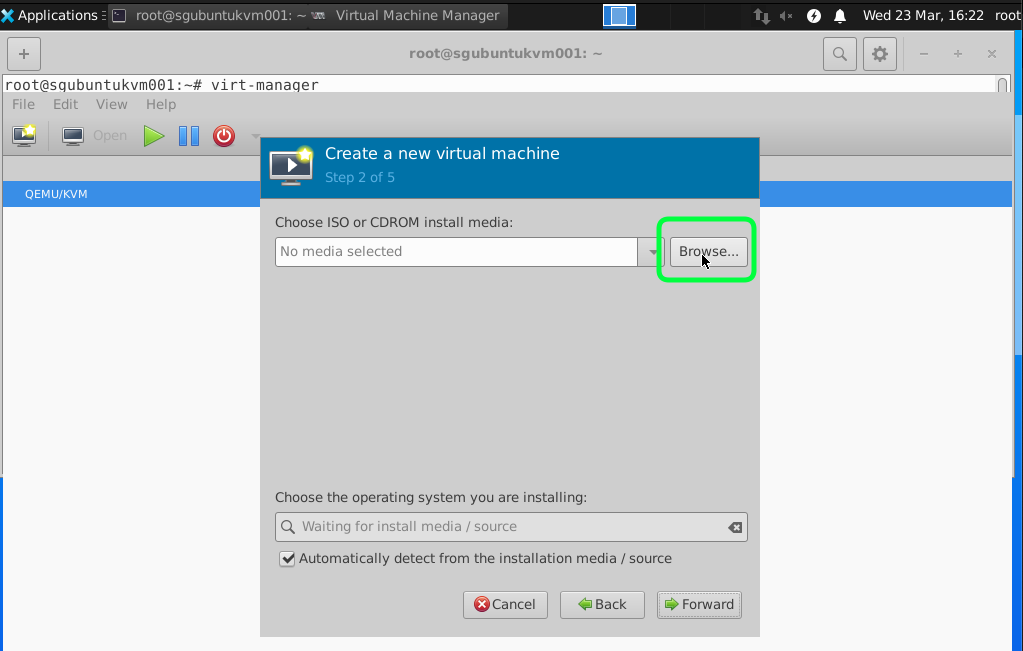
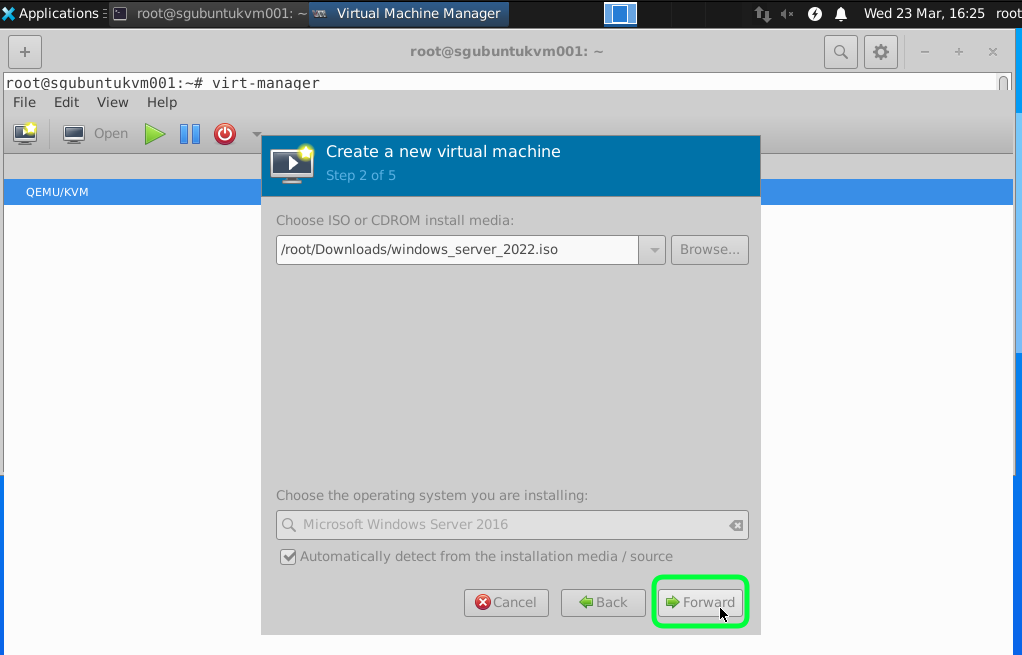
Click on Browse and Select the Windows Image.

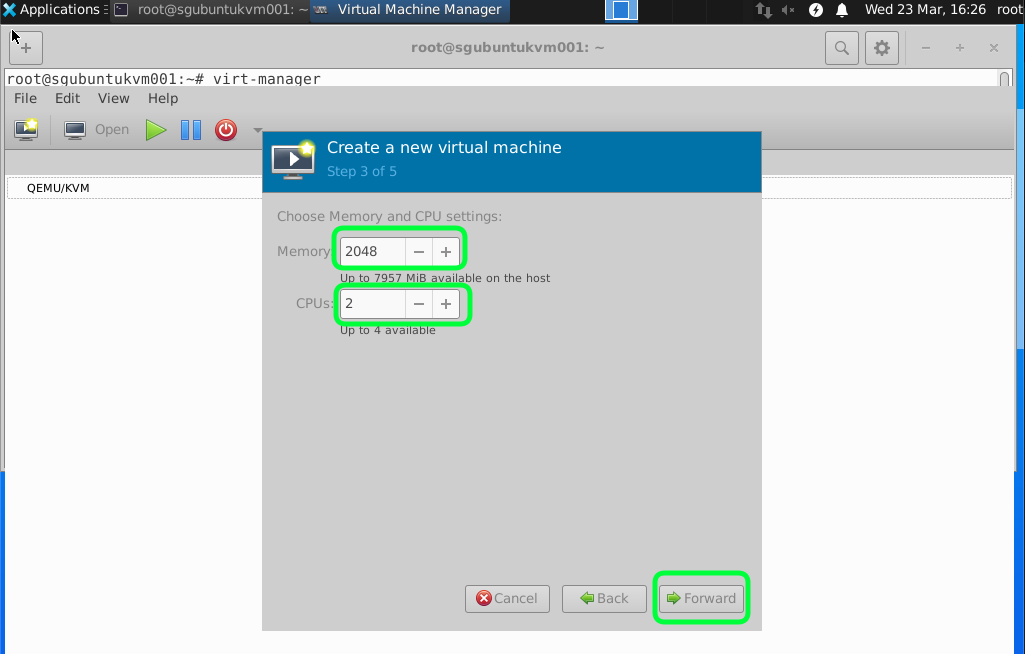
I would recommend having minimum 2GB RAM and 2 vCPUs for a start. As anything lower than this make the VM very slow and can become unstable.
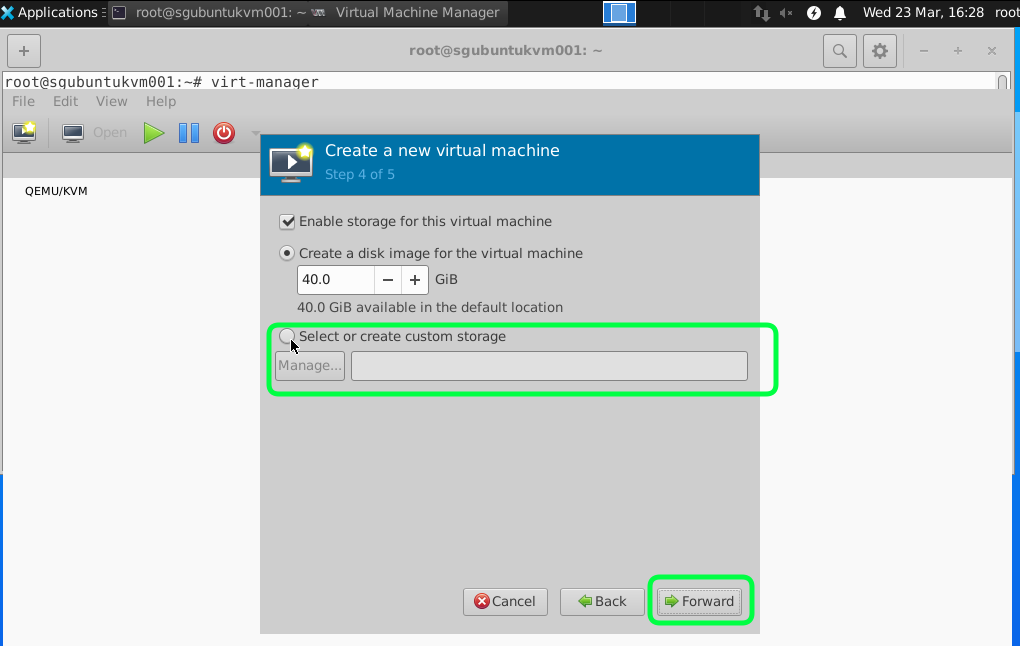
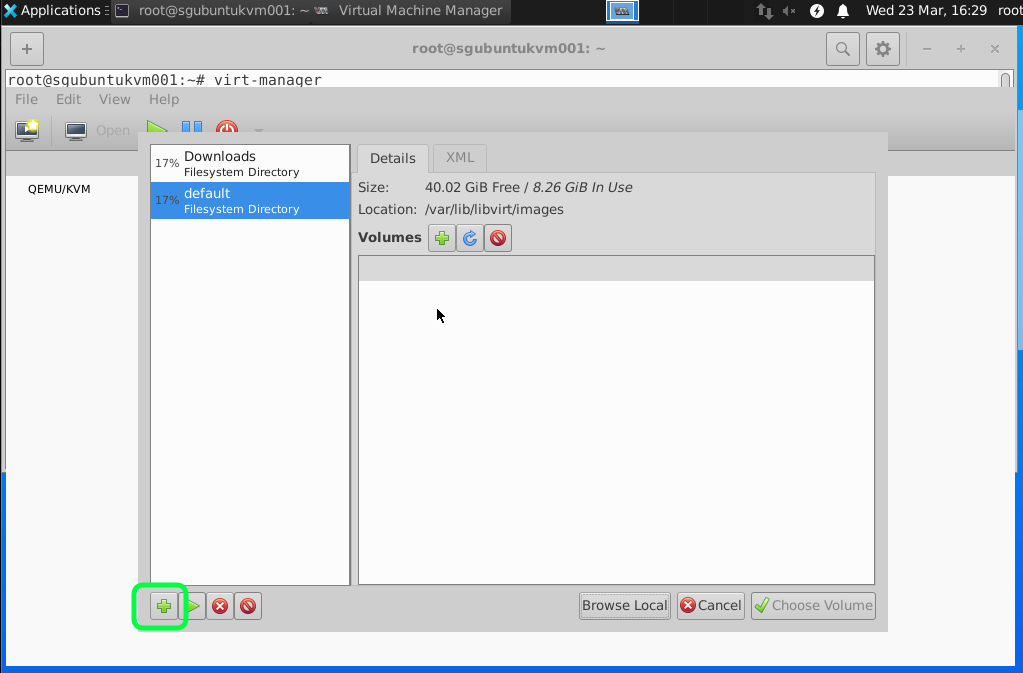
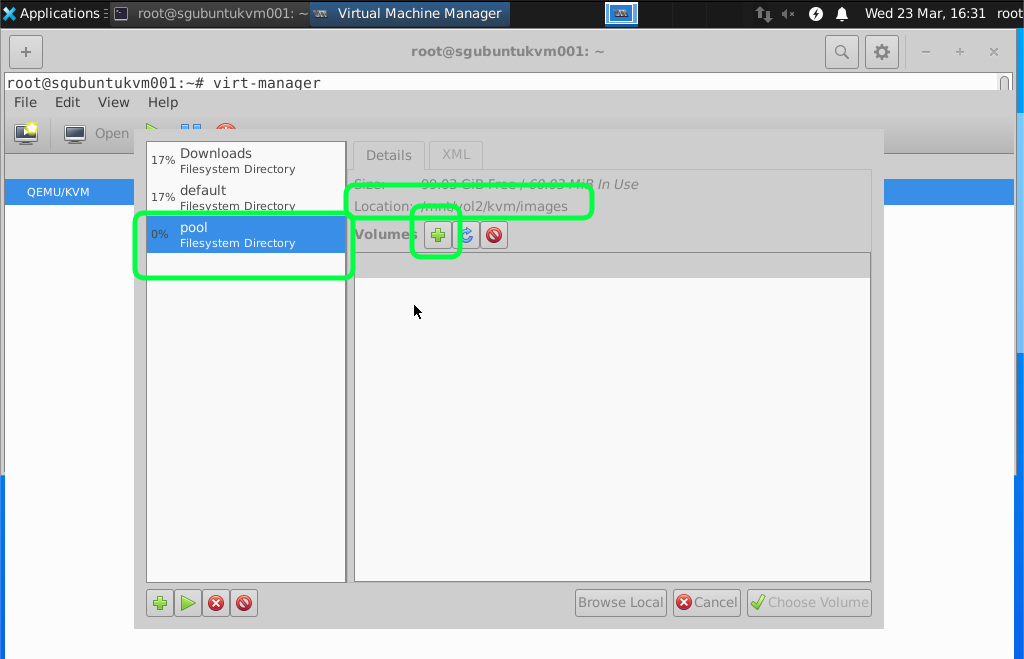
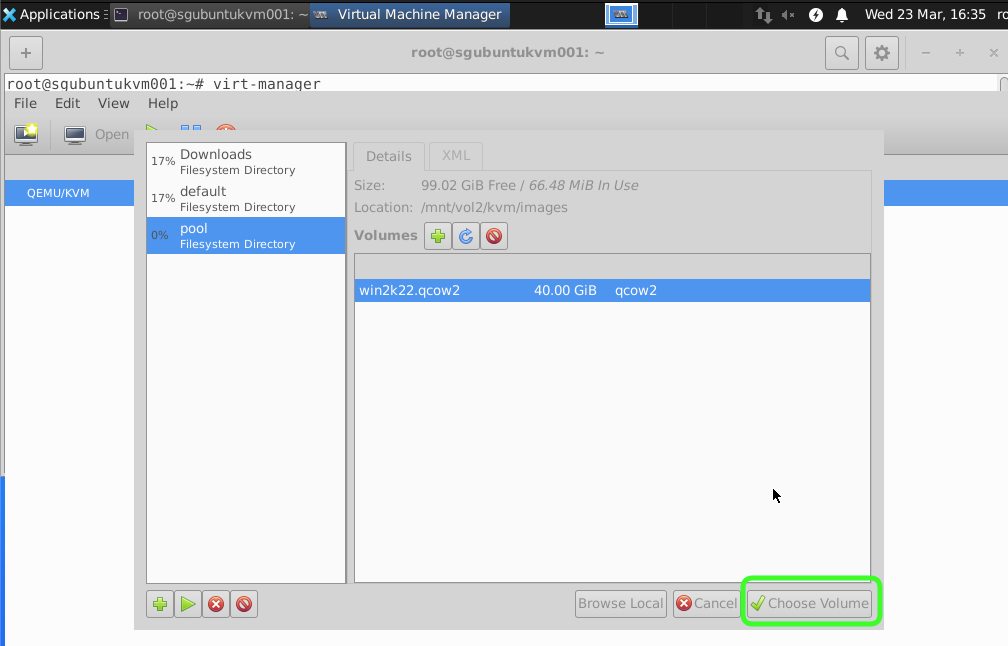
For this tutorial we are going to add and select a attached storage.
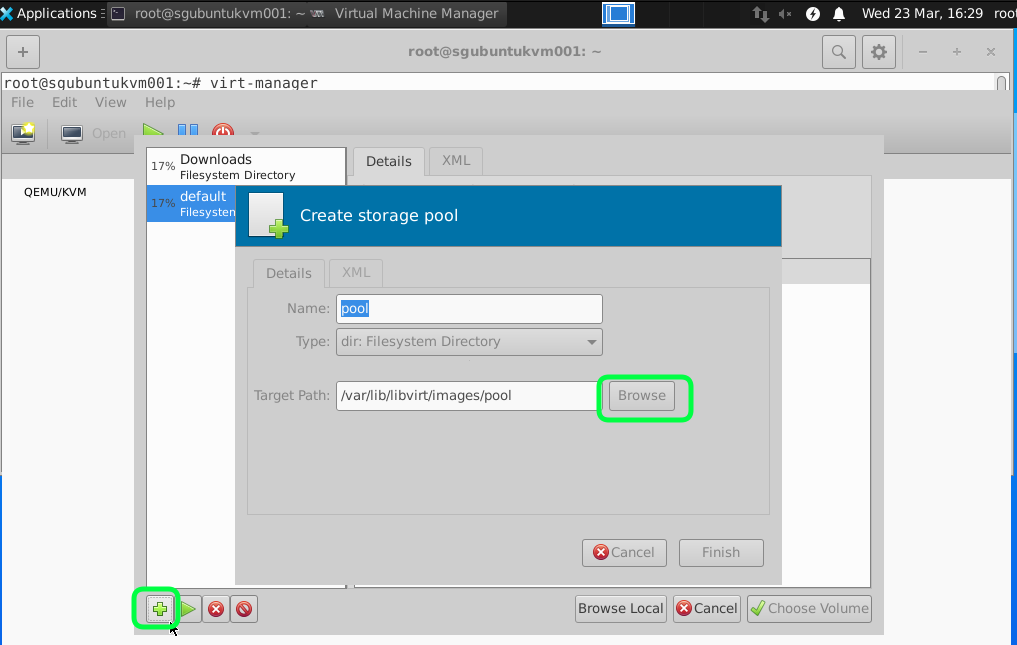
Click on the add icon to select a new Directory.
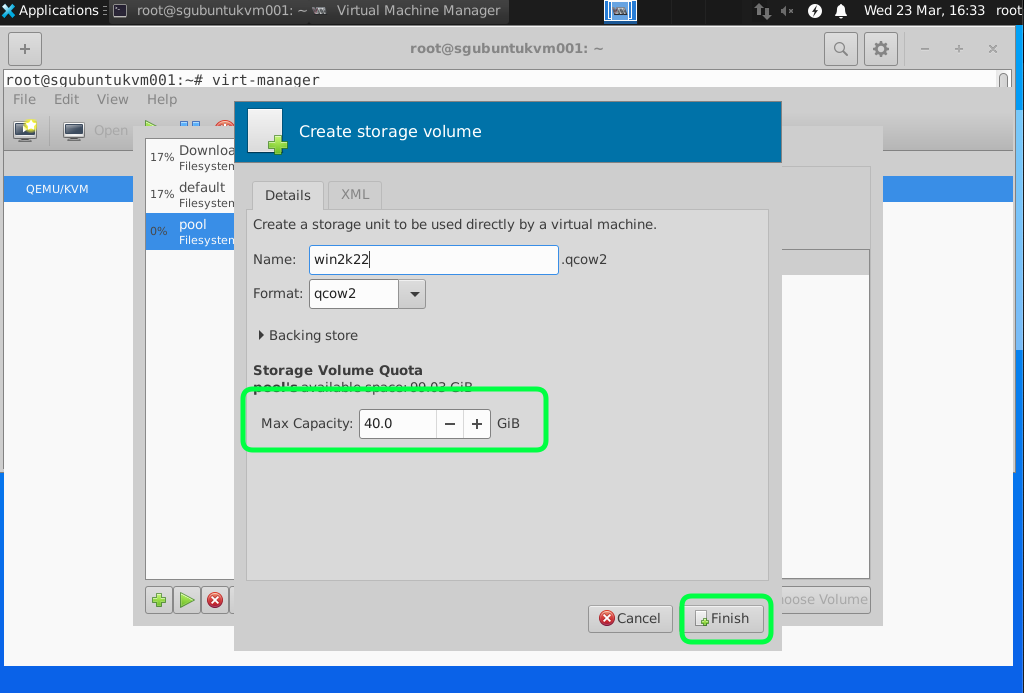
Recommend to have 40GB of Hard disk space you can start with a smaller size and fix disk with more capacity later but setting the minimum of 40GB it should last you for a while. If you are using the Windows Server just as a Active Directory for my lab.
Click on Customize Configuration before install to adjust a few settings.
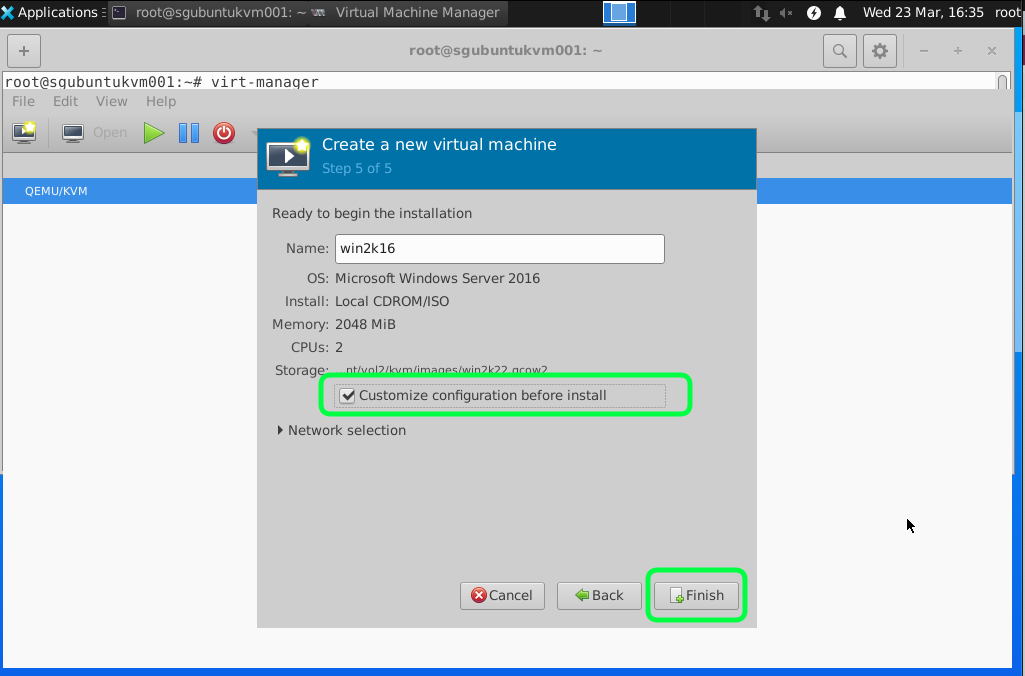
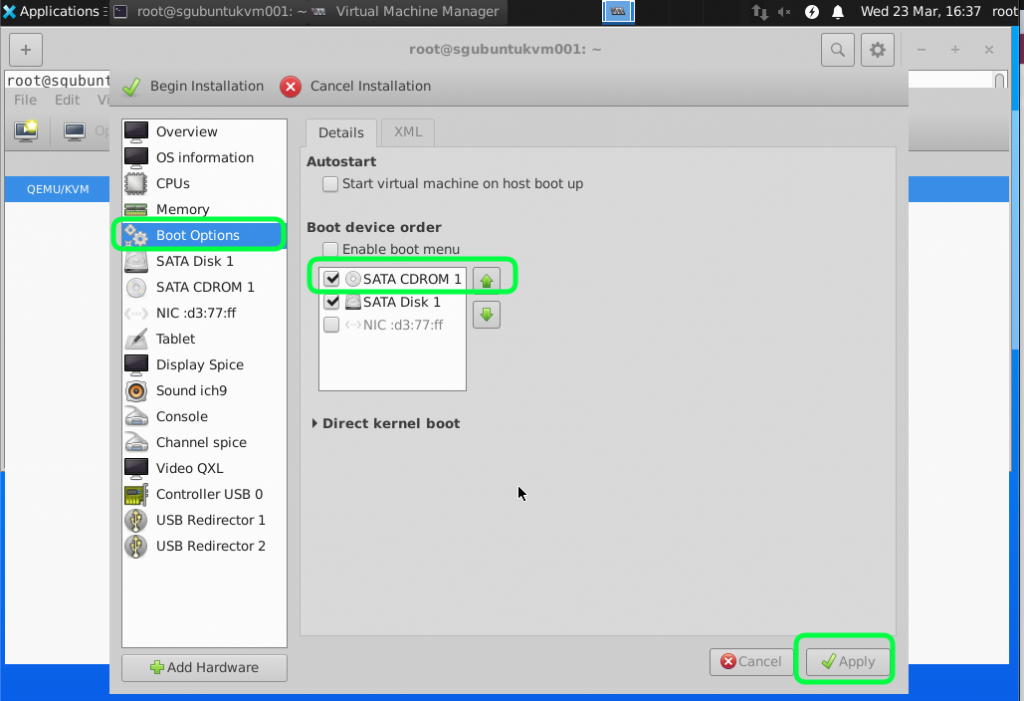
Set the boot option to boot from the CD ROM where the Windows Server ISO is stored.
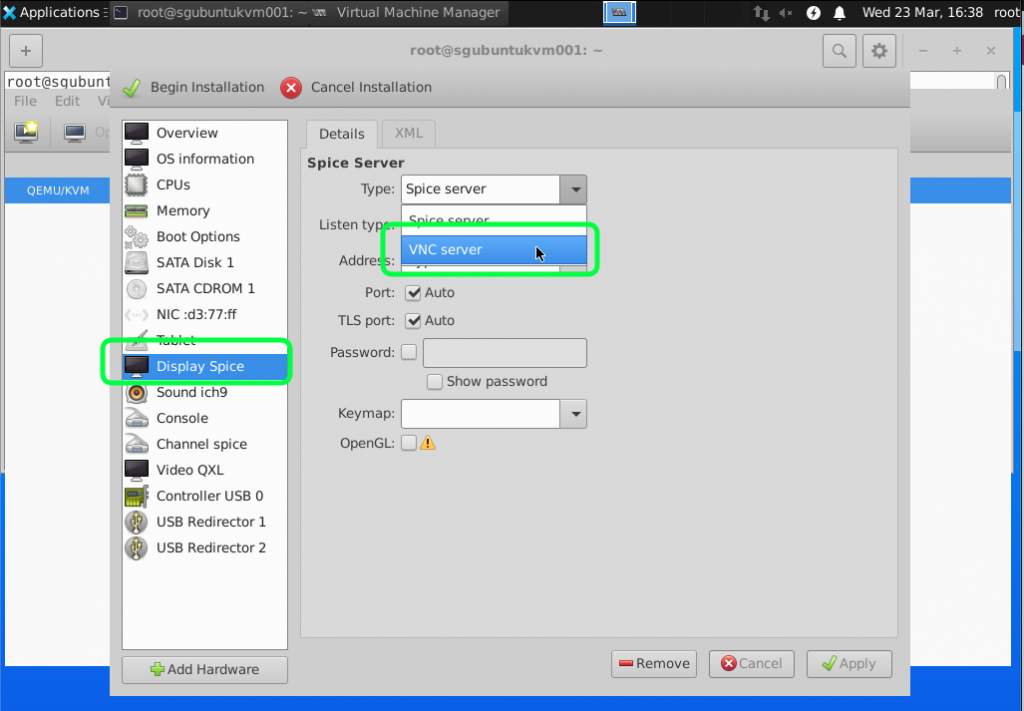
I find VNC Server Display better for installing Windows Server. For Spice I sometime lose the keyboard control.
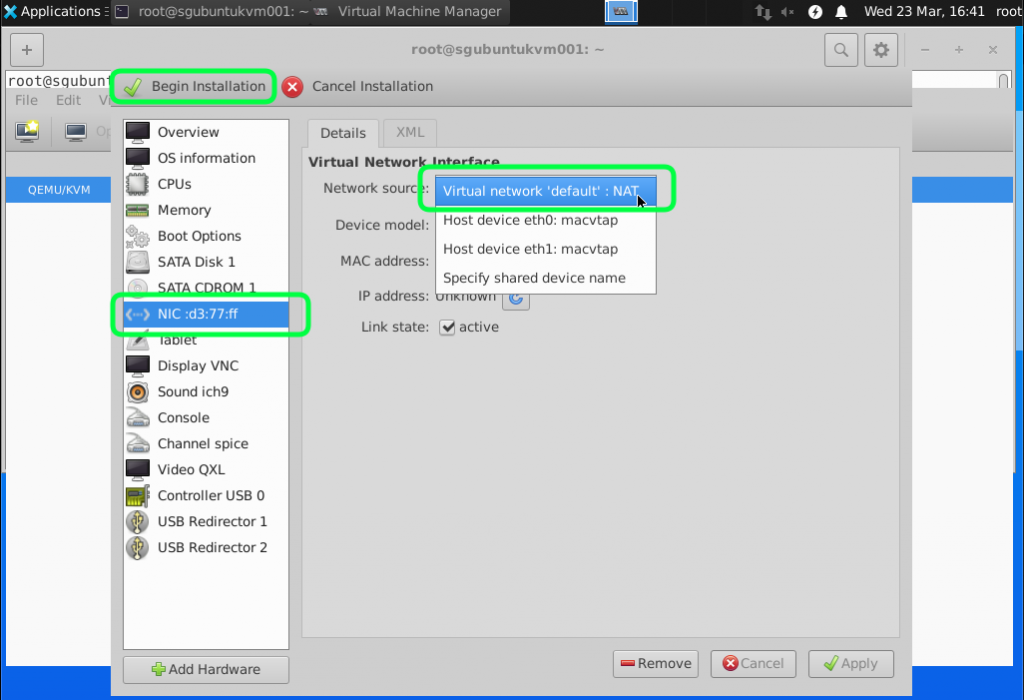
We are going to use the default NAT just to test the connectivity and ensure that the virtual nic/network is working. We will go through the bridge mode in the next tutorial. You can start the installation by clicking on Begin Installation.
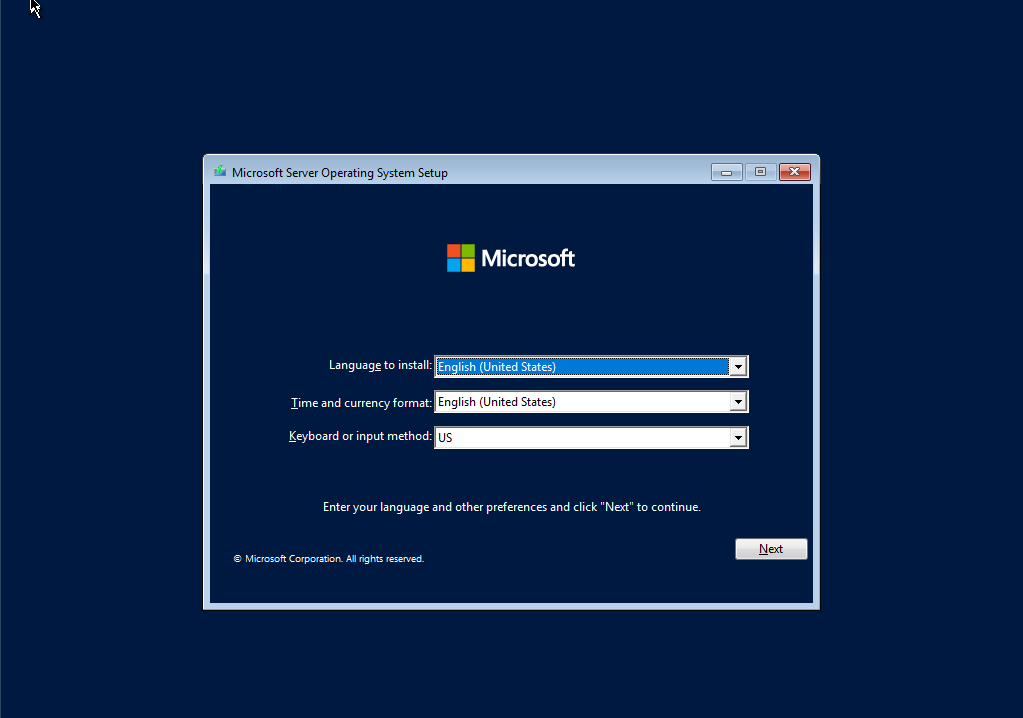
Once that is done you can go through the normal windows installation process. Depend on the resources and the connection to the internet it might take some time to complete the installation.
To allow non root (sudo) users that you have added to the libvirt group to be able to configure the VM you need to edit the /etc/libvirt/libvirtd.conf file.
nano /etc/libvirt/libvirtd.conf
Add or uncomment the following and change the permission accordingly.
unix_sock_group = “libvirt”
unix_sock_rw_perms = “0770”

Restart the libvirtd service.
sudo systemctl restart libvirtd.service