
You can find the official Netplan configuration example in the link below.
https://netplan.io/examples/#configuration
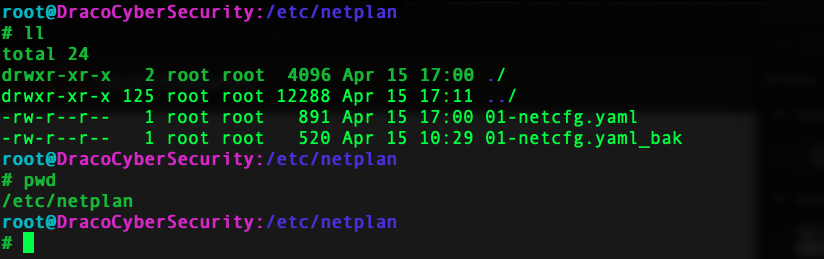
This tutorial will focus on creating a bridge using netplan and define the bridge in QEMU/KVM so that you can attached the bridge to the Guest KVM. If you Ubuntu Server is in the cloud the configuration file should be in /etc/netplan/ folder. and default configuration file is 01-netcfg.yaml. Before you proceed with making changes do make a backup of the file so that you can restore the configuration if needed.
This is how the default configuration look like. You notice that we are using networkd as the network renderer.
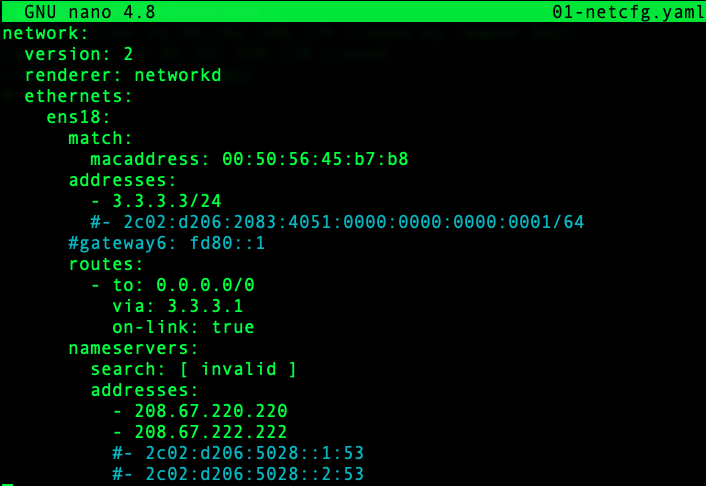
In Ubuntu 20.04 you will notice that the ethernet interface may be name as ensxx in our example ens18.
network:
version: 2
renderer: networkd
ethernets:
ens18:
dhcp4: false
dhcp6: false
# Create a new bridge interface and assign the ip address and link the interface to the physical # interface. The rest of the configuration remains the same.
bridges:
dracobridge:
interfaces:
– ens18
addresses:
– 3.3.3.3/24
routes:
– to: 0.0.0.0/0
via: 3.3.3.1
on-link: true
nameservers:
search: [invalid ]
addresses:
– 208.67.220.220
– 208.67.222.222
Once you are done you can use netplan generate to detect any syntax or indentation error and then execute netplan apply.
sudo netplan apply
Now to define this network using virsh so you can use the bridge for your guest VMs.
Use the net-list option to view the virtual network define for KVM use
sudo virsh net-list

Create a template for the Bridge. (In this tutorial we will name it draco_outside_bridge.xml, you can store the xml file in a location that you might want to put your KVM script in case you want to automate some of the tasks.)
- The bridge created in Ubuntu earlier is : dracobridge
- Give the virtual bridge a name : draco_outside_bridge
sudo nano /tmp/old.draco_outside_bridge.xml
<network>
<name>draco_outside_bridge</name>
<forward mode=”bridge” />
<bridge name=”br0″ />
</network>
Next we are going to create the virtual bridge using net-define and start the virtual network and make it persistent.
sudo virsh net-define draco_outside_bridge.xml
sudo virsh net-start draco_outside_bridge
sudo virsh net-autostart draco_outside_bridge
If there are no errors you will see the new virtual network created. When you do a sudo virsh net-list –all.
